IT Troubleshooting: How to Capture Screenshot from Student PC
A screenshot is an image of your computer screen. It can be extremely helpful if you want to share the contents of your screen with a tech support. This how-to article will show you several ways of taking a screenshot in Windows 10 (and some older versions of windows too).
Capturing a Full Screen Screenshot (Keyboard Shortcut)
Before you start: Ensure that the setup and layout of all items on your screen is to your liking. Close any windows that you don't want to include in the screenshot. Make sure that nothing you wish to be captured is obscured by anything.

Press the ⊞ Win+⎙ PrtScr keys simultaneously. Open Microsoft Word, Outlook or Paint and create a new blank document where you can paste captured screenshots; then right click and select paste or press Ctrl+V to place the screenshot into your document/email/paint file, etc.
In Windows 10, Press the ⊞ Win+⎙ PrtScr keys simultaneously. The screen may dim for a second and will automagically save the image in your Pictures folder.
Locate the screenshot--
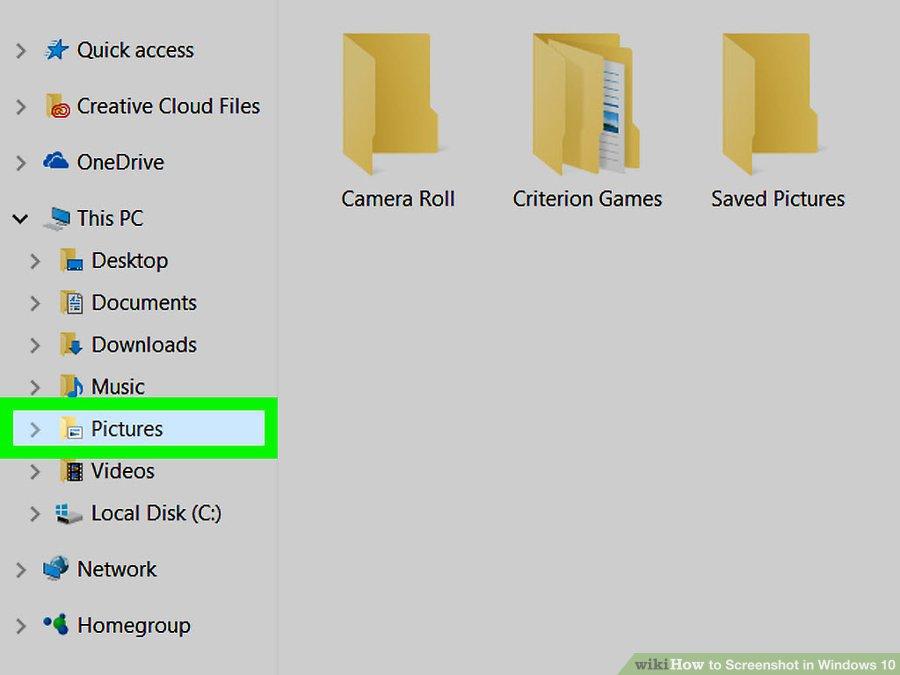
- Open File Explorer.
- Select Pictures from the left pane.
- Go to the "Screenshots" folder.
- Open the screenshot. The latest screenshot will have the highest number compared to any other images in the folder. Screenshots will be saved like this: "Screenshot (#)".
Capturing an Active Window Screenshot (Keyboard Shortcut)

- Click into the window you wish to screenshot. Click the title bar to select the window.

- Press Alt+⎙ PrtScr together. The screenshot will be copied to your clipboard.
Some devices will require you to press Alt+Fn+⎙ PrtScrtogether instead.
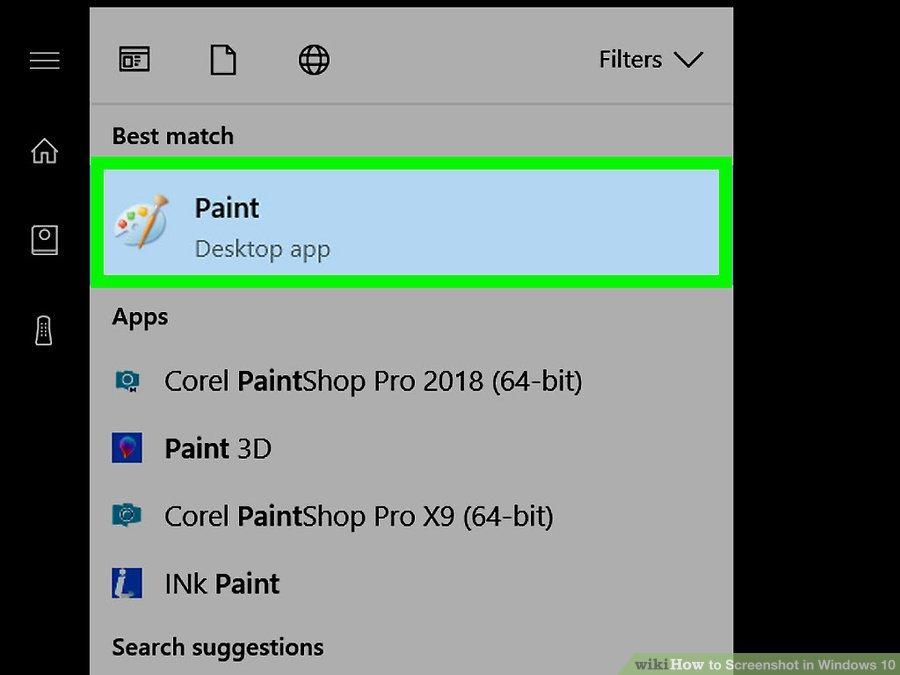
- Open Paint. You can search for it using the search bar/icon on the taskbar.
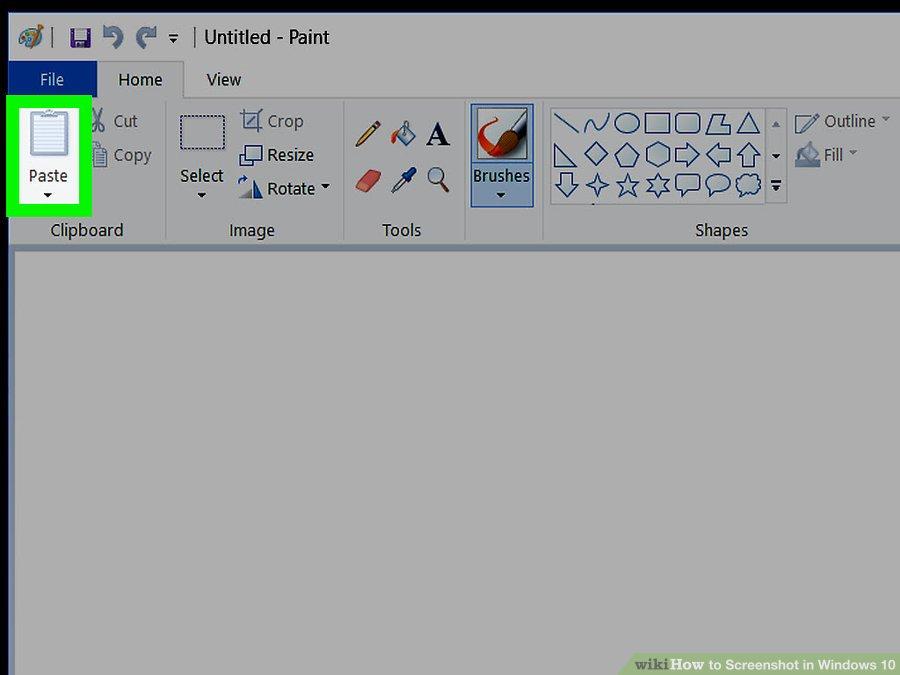
- Paste the image. Click Paste or press Ctrl+V.
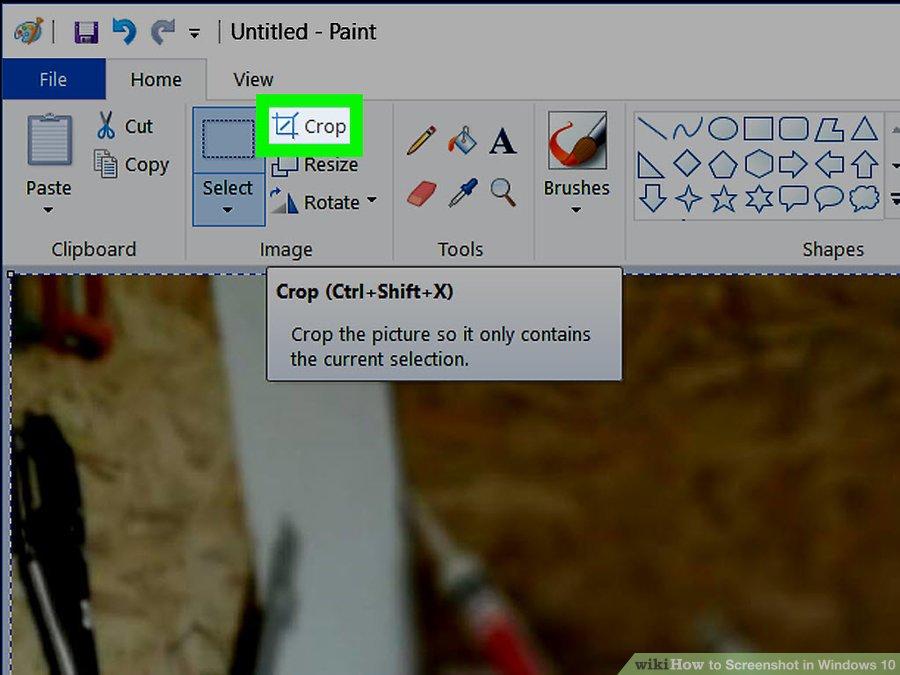
- Crop the image. Press the Crop button from the top ribbon. You can also right-click on the image and choose the Crop option.
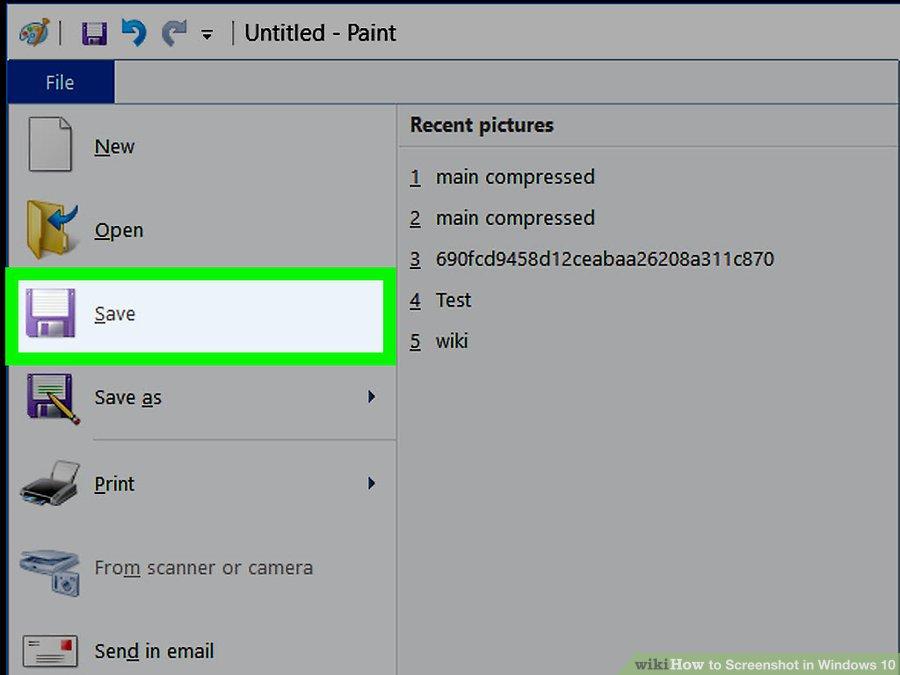
- Save the file. Press File > Save or Ctrl+S.

- Choose a save location (optional).

- Name the file a custom name (optional). By default, the name will be "Untitled".

- Change the save type (optional). Click the dropdown next to "Save as type:". The default and highest-quality option is PNG.
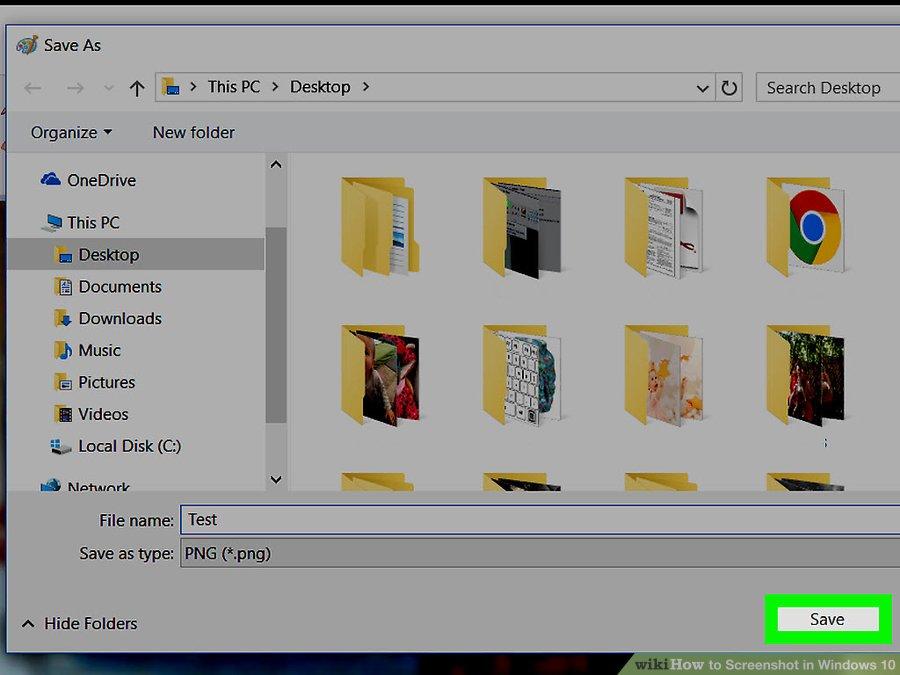
- Press Save.
How to use Windows Snipping Tool (Custom Sized Screenshot)
- Open the Snipping Tool. The Snipping Tool is available in all versions of Windows Vista, 7, 8 and 10 except the Starter and Basic editions.
- In Windows Vista and 7, click the Start button, select All Programs, select Accessories, and select the Snipping Tool from the list.
- In Windows 8, simply start typing snipping tool while on the Start screen and select it from the Search results.
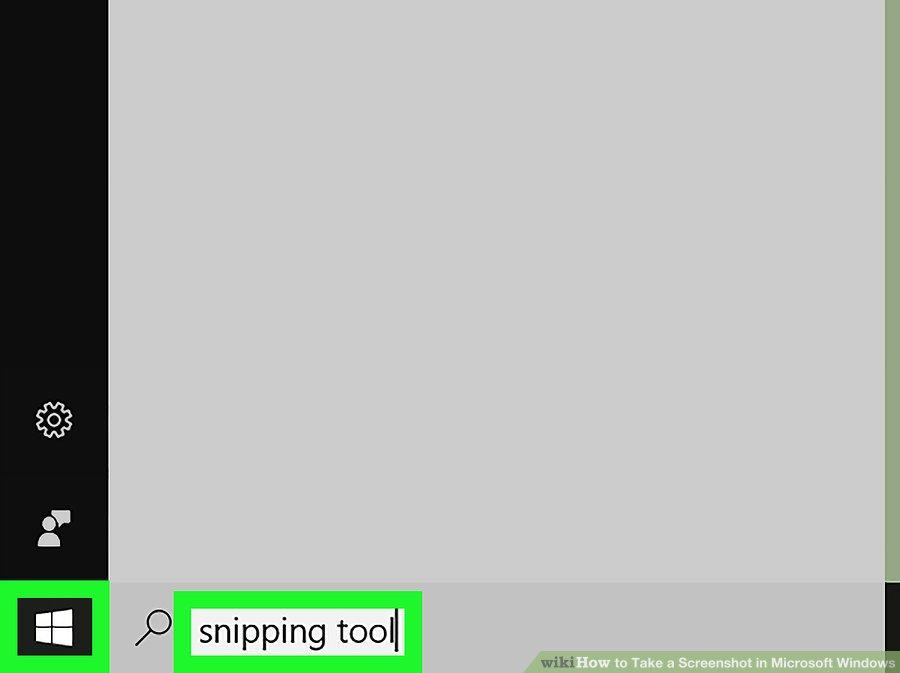
- In Windows 10, click Start
, type in snipping tool, and select Snipping Tool from the Search results.
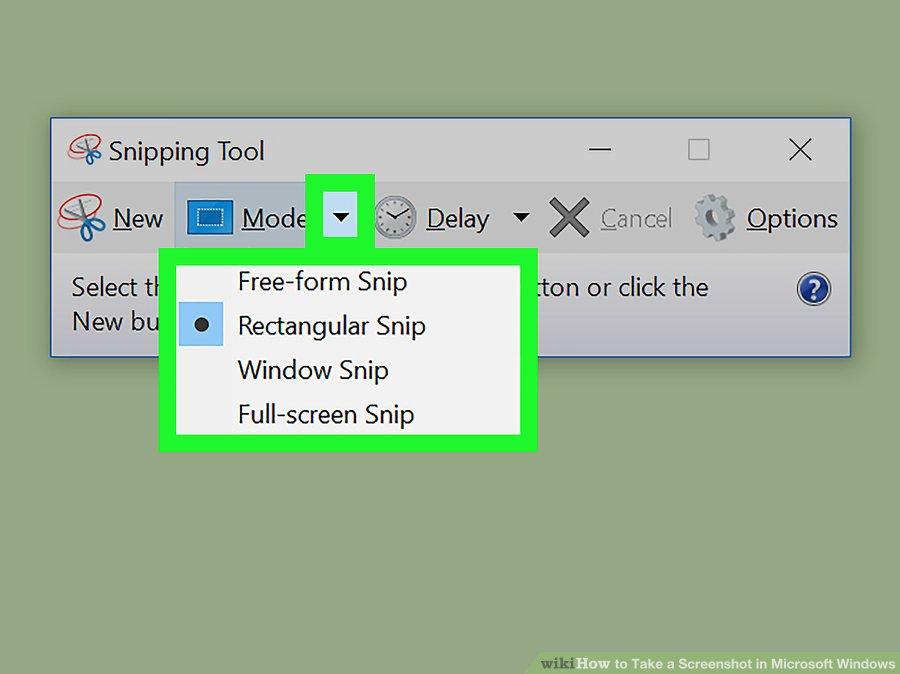
- Choose the shape of the Snip. "Rectangular Snip" is chosen by default. Click the Arrow button next to the Mode button to change the Snip shape:
- Free-form Snip lets you draw any shape with your mouse. The area inside the shape will be snipped.
- Rectangular Snip lets you select a rectangular area, which will be snipped.
- Window Snip lets you choose a window to snip.
- Full-screen Snip snips the whole screen, with all windows (except the Snipping Tool window) included.

- Adjust the Snip border. By default, any snip you make will have a red border around it. You can disable or change this by clicking the Tools tab in the top-left side of the Snipping Tool toolbar, selecting Options from the drop-down menu, and unchecking the box next to “Show selection ink after snips are captured”. This will remove the border from any future snips.

- Create a new Snip. Click the New button to start the selection. The screen will fade, and you can draw your Snip area, or select the window if you chose Window Snip. Release the mouse when selecting to create the Snip.
- If you had Full-screen Snip selected, your Snip will automatically be created once you click New.
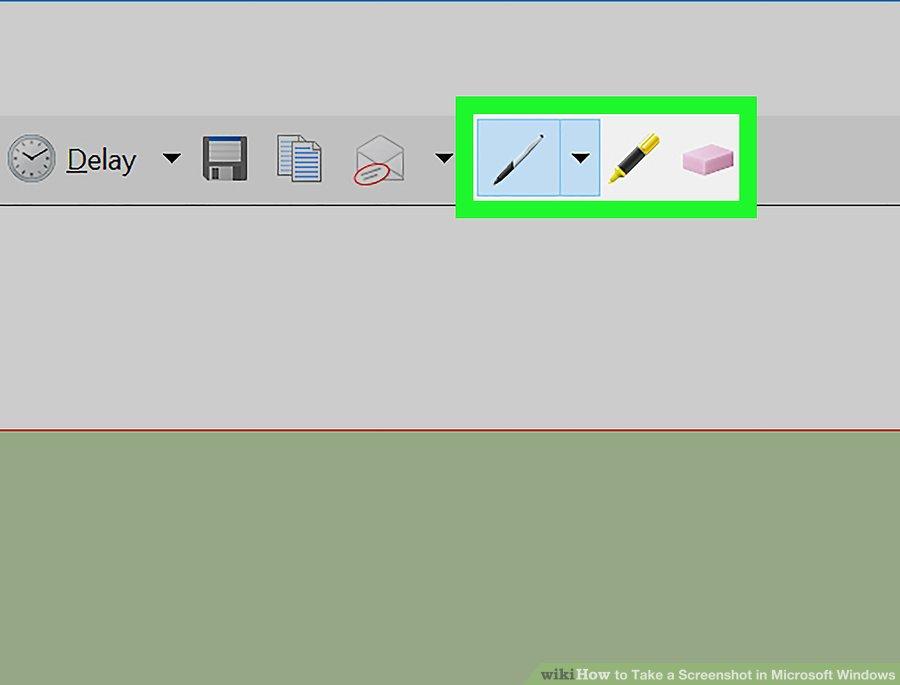
- Annotate the Snip. Once you create the Snip, it will open in a new window. You can use the Pen tool to draw on it and make notes, and use the Highlight tool to draw attention to text.
- The Erase tool will only erase annotations, not the screenshot itself.
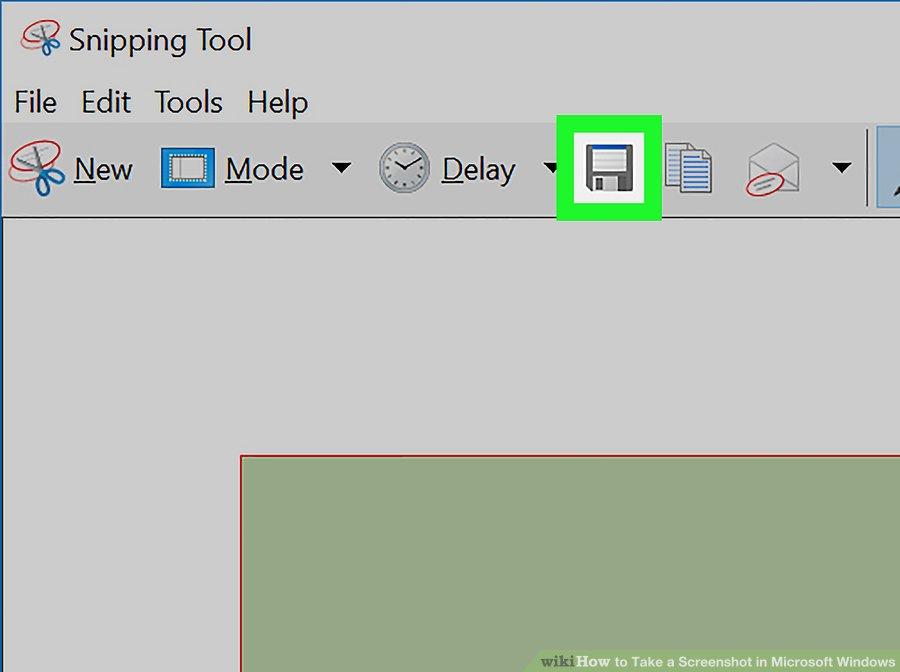
- Save the Snip. Click the floppy disk icon to open the save dialog. Type in a name for the screenshot and change the "Save as type:" field if desired. You can now send the screenshot by email or put it on a website.
- PNG is the default format in Windows 7 and 8. It's a lossless compressed format, which means that it will take high-quality screenshots at a small file size. It is the recommended format for taking screenshots.
- JPG or JPEG is the default format in Windows Vista. It is a lossy format, meaning that the screenshot will look slightly blocky and some colors may be a bit off. It's mainly designed for photographs, and not recommended for screenshots.
- GIF is unsuitable for reproducing color photographs, but well-suited for images such as graphics or logos with solid areas of color, resulting in crystal sharp edges between color areas.
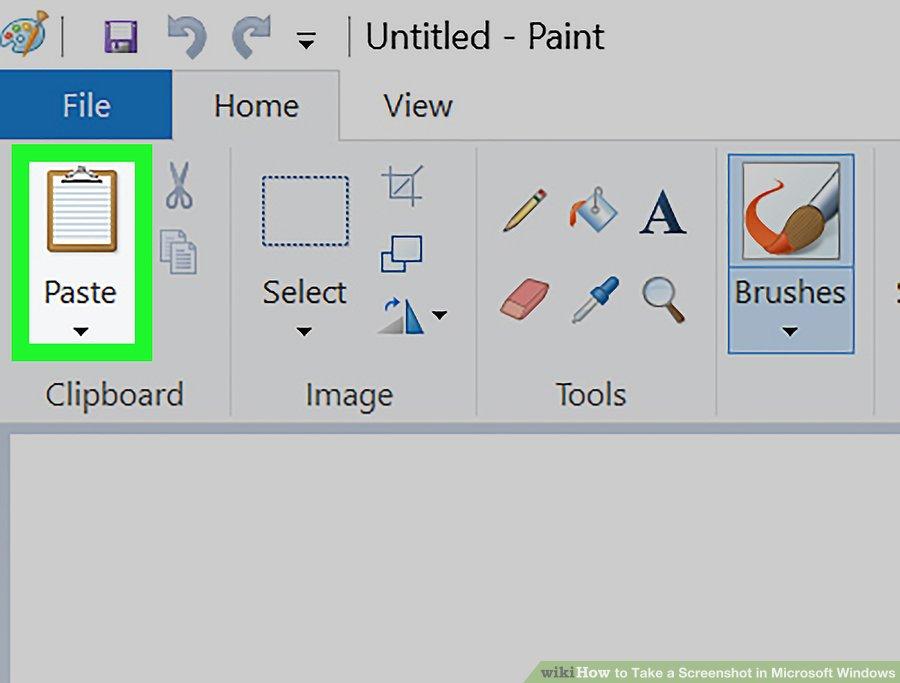
- Copy the Snip. By default, the Snip is copied to the clipboard when you create it. This means you can paste it into Paint or Word, much like you would with a full-screen screenshot. In Paint, you can make more edits than you can in the Snip annotation editor.
- To paste the Snip, open a window that supports pasting and press Ctrl+V.
Published by Google Drive–Report Abuse–Updated automatically every 5 minutes
Was this article helpful?
That’s Great!
Thank you for your feedback
Sorry! We couldn't be helpful
Thank you for your feedback
Feedback sent
We appreciate your effort and will try to fix the article